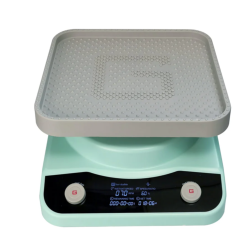
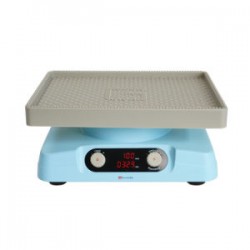
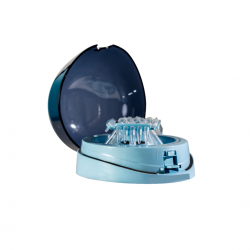
Vertical Mixer


- Stock: In Stock
- Model: 0752
Product Introduction
The vertical mixer is suitable for general mixing scenarios in industries such as biology, medicine, and chemicals.
However, it is not recommended for use in cold storage.
Product Features
Rotaryoperation,gentle and thorough mixing
Adjustable speed range:10-80rpm
Accuratespeed control
Low noise
Various sizes of adapters can be freely combined, suitable for 1.5mL,2.0mL,5mL, 10mL, 15ml,and 50ml centrifuge tubes
Memoryfunction: The startup parameters are set to thelast settings before shutdown
Product Parameters
| Product Name | Vertical Mixer |
| Environmental temperature | 5°C~40°C |
| Relative humidity | ≤80% |
| Input power | AC100V~AC240V |
| AC power | 50 Hz/60 Hz |
| Output power | 24 V,1.5 A, 36 W |
| Motor type | Stepper motor |
| Speed range | 10-80 rpm |
| Time range | 1m-99h59m |
| Speed display | Digital display |
| Operating mode | Continuous mode |
| Voltage | 100-240 V,50/60 Hz |
| Input power | 36 W |
| Dimensions | 395×90×136 mm |
| Product weight | 1.77 Kg |
Machine Description
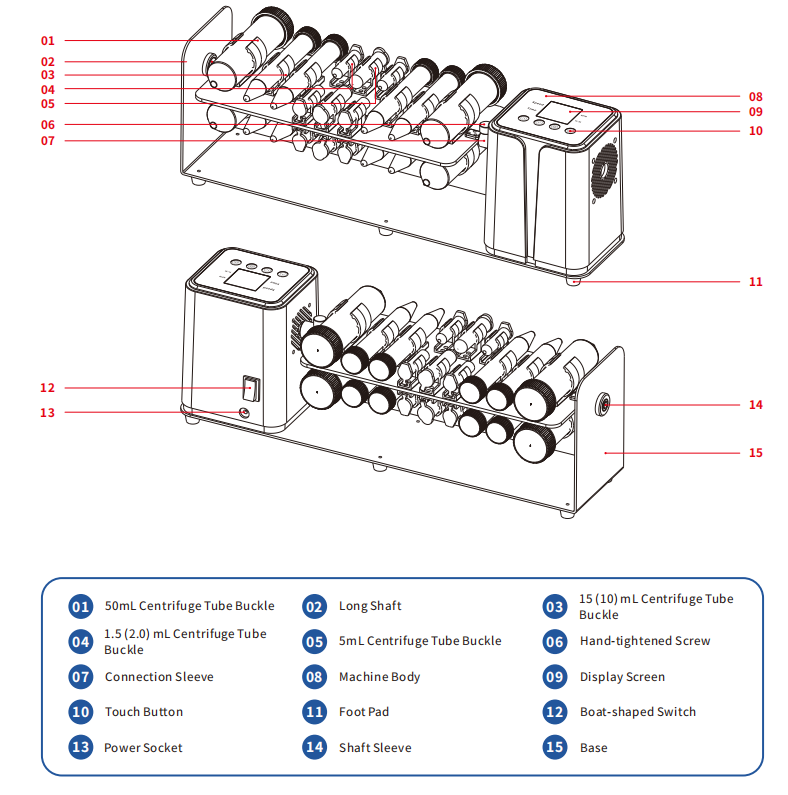
1.Structural Diagram
2.Optional Accessories
| Model | Description |
| SMV-P-A | 8×1.5(2.0)mL+4×5mL+8×15(10)mL+4×50mL |
| SMV-P-B | 12×1.5(2.0)mL+8×15(10)mL+4×50mL |
| SMV-P-C | 40×1.5(2.0)mL |
| SMV-P-D | 40×5mL |
| SMV-P-E | 18×15(10)mL |
| SMV-P-F | 12×50mL |
| SMV-P-G | 6×15(10)mL+8×50mL |
| SMV-P-H | 4×Microplate(96 Deep Well Plate,PCR Plate, ELISA Plate) |
If you need to customize other models or modules, please contact the supplier
3.Installation Instructions
1.Ensure a good working environment, free from explosive and flammable materials.
2.Open the package and check whether the instrument accessories are complete, then place the instrument on a horizontal workbench.
3.If multiple instruments are used at the same time, please maintain a distance of more than 25cm between each equipment.
4.Before connecting the instrument to the power supply, please ensure that the input voltage meets the product standard.
5.Before installing the accessories, first turn off the power, gently remove the original accessories, and then connect the replacement accessories with screws. Before each use of the instrument, please confirm that the instrument and its accessories are not damaged.
Operation Guide
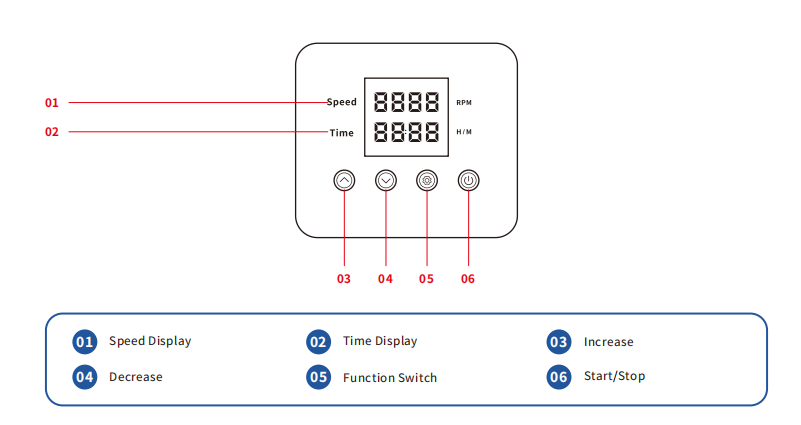
1.Place the instrument on a stable. level workbench, Connect the power supply and turn on the power switch
2.Touch the "Function switch" button to select the parameter you want to set. The selected parameter will blink. Use the
"Increase" or " Decrease" buttons to set it to the desired value.
3.0nce the value is set, touch the"Start/Stop" button to start the instrument.
4.The instrument allows adjusting the speed during operation. lf you need to adjust the time, you must pause the instrument
first and then use the function switch button to set.
5.lf you need to replace the adapter, unscrew the hand-twist screws and move the entire adapter toward the shaft sleeve.
then lift it out at an angle. When replacing, first pass the long shaft through the shaft sleeve. lf the travel is not enough, pul
the base slightly outward to facilitate the shaft entering the connecting sleeve, Align the holes and tighten the screws to
secure it.
6.When taking or placing centrifuge tubes, please ensure the instrument is in a stopped state. lf the instrument becomes
jammed due to improper operation, the instrument should be paused and then restarted to resume operation.


